Wednesday, January 28, 2015

Another Card Revisited for a February Birthday

With all the Valentines in my February future, I got a head start on the month's birthday cards.  I revisited a design idea from Sue's card last month.  I ordered the background stencil she used on a floral card, but wanted to make it more masculine.

I started with an avocado card base and a kraft cardstock front panel.  I used the disperse stencil with some copper Brilliance and a dauber on the kraft cardstock to make a background level.


Then, I used the Martha Stewart sparkle texture with a palette knife 
(actually my Cricut spatula) to fill the stencil 
and then lifted it off carefully.  
I blow dried the texture medium a bit to speed drying.


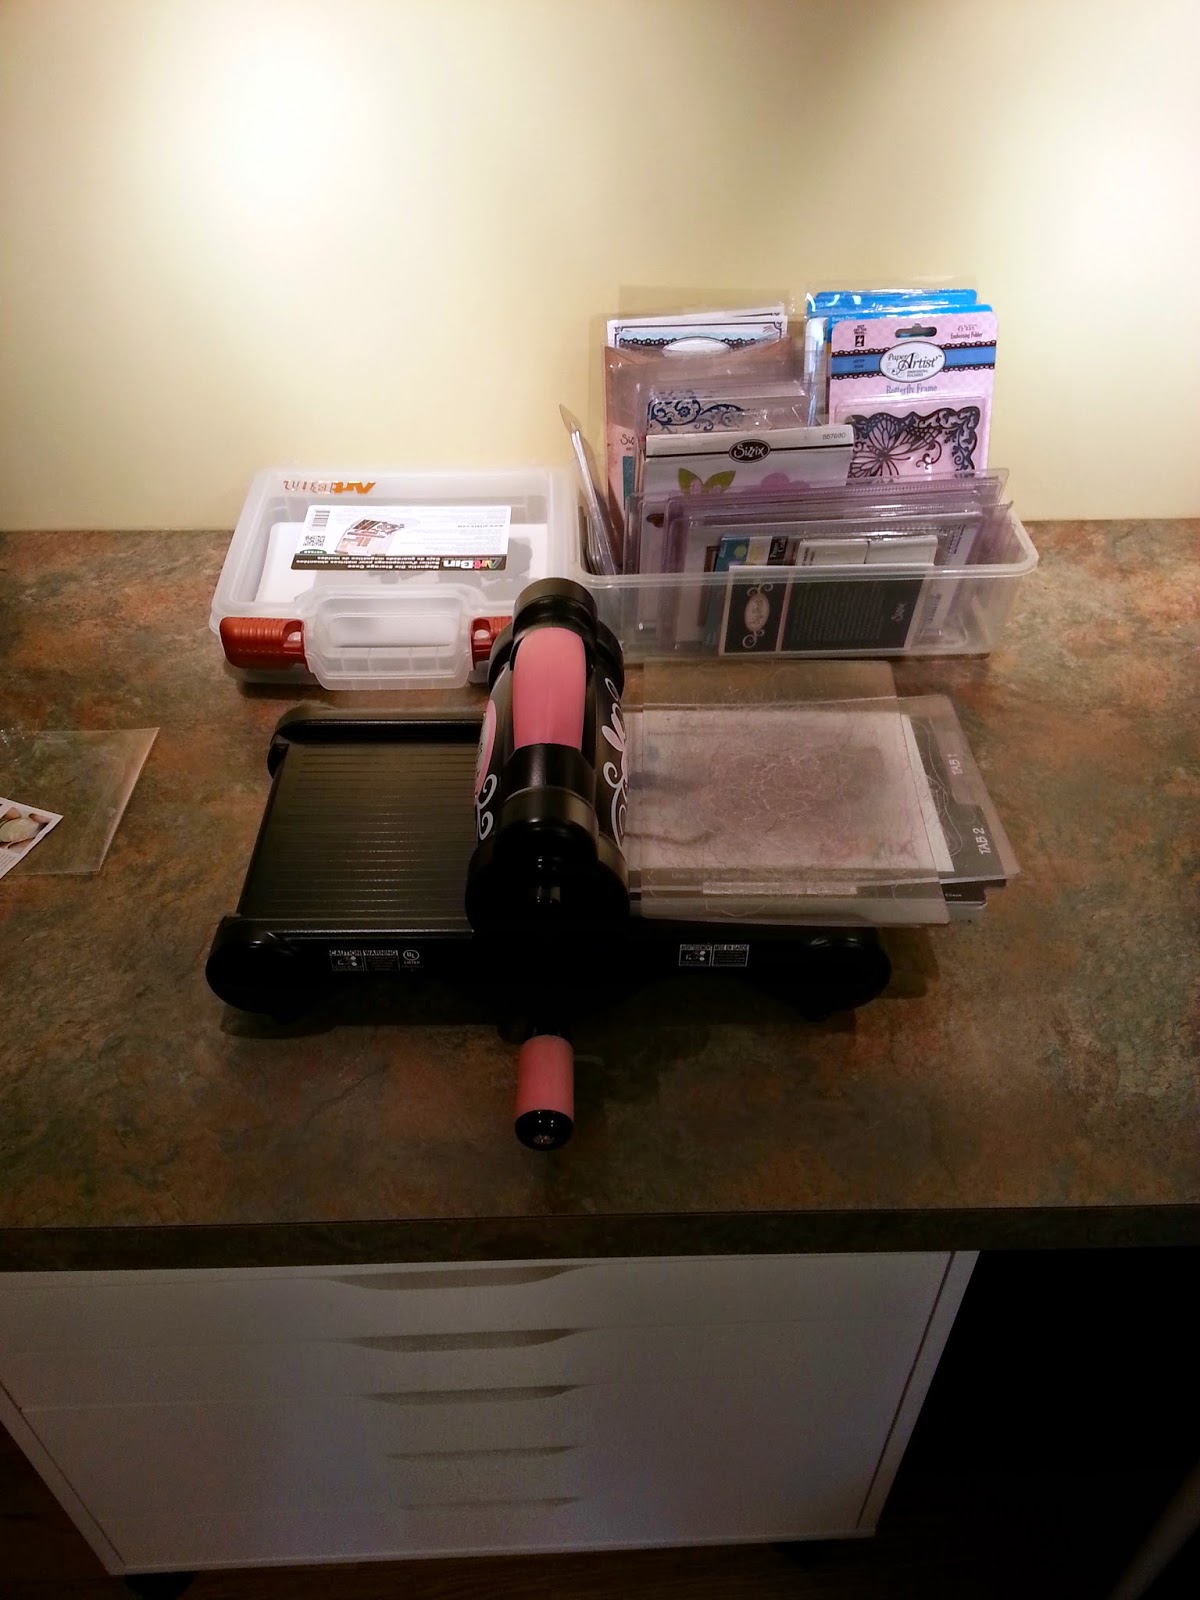
Meanwhile I die cut the leaves on the Big Shot using a 
Papertrey Ink product with matching stamps.


I also cut the sentiment out the sentiment multiple times to achieve 
some dimension by gluing the three layers together.


I used Ripe Avocado to stamp the die cut leaves.  I added some Dark Chocolate 
fern-like foliage to give the card some depth. Then added a rhinestone 
to dot the "i" on the tri-level sentiment in dark brown.


For a fairly flat card, there is a lot of depth and texture
for interest. The color combination is great 
for a masculine birthday greeting card.


Quilted Baby Card Revisited

I needed a card to accompany the baby quilt so I spent some time this afternoon (while the wind chill outsided was single digits) up in my craft room.  I made a quilted card you will find earlier on this blog from a monthly, Monday afternoon card making session with my fellow paper crafters.  I added a new twist to it. And I think you'll like the idea --and the result.


The new element I added was a "fussy bow".  You make it with lace, ribbons, twine, braid and fabric strips, even tulle.  Here I placed turquoise ribbon, baker's twine, braid and some lace pieces over one another at an angle and tied them up tightly with the twine.


When you add it to the card, it makes a great complement to the quilted effect of the background.
I added a slider die cut and a heart cut out on a piece of turquoise ribbon.
I like the color palette for a baby boy card:  beige and turquoise with some other pastels.

Tuesday, January 27, 2015

Another Winter, Another Blizzard, Another Cuddle Quilt

We're having our first blizzard --and I hope the last--of 2015 here in southern New England.  Now winter is truly here. The other snows we have received have only been teases that winter is at hand. Now, I'm a believer.  When I'm sewing, it doesn't matter what is going on outside my window. Maybe that's why I usually do most of my sewing in the good ol' winter time.

Today I finished a flannel cuddle quilt for a new baby boy, born in the deep mid-winter of January in Ohio. He joins Lily and Robbie, my grandchildren, in celebrating birthdays after Christmas.  I also have a friend from high school whose first grandchild was born two days before Lily, two years ago.

I used flannel for this version of the cuddle quilt and added a 7th row to make it almost square.  It can be a playmat or an on-the-floor changing pad.  The fabrics are mostly Riley Blake: Road Trip, Hooty Hoot, Bitty Baby Grid and Giraffe  Crossing Tic Tac Toe.  The backing is Aunt Polly's plaid in olive and brown. Add in some Tossed Leaves and Stars in lime green and you have a little boy's quilt for winter. Enjoy it, Jamie and parents and grandparents! Cuddle up and stay warm.


And thanks to my neighbor, Irena.  
 I had to borrow some batting from her because  
I bought the wrong size (too small) in my haste pre-blizzard.
I owe you!

Tuesday, January 13, 2015

January 2015 Cards

Well, the weather kept us wondering if we would be able to meet.  It turned out to be just rain by afternoon so we gathered to create and catch up with each other.  I posted on Google Plus, but also tried to keep my old blog going with a new Surface laptop/pad.  I need those lessons as I'm learning on my own very slowly how to navigate this new world of pinching and tapping and swishing and...

But the creating is much easier and more fun--


Bonnie had us do a pinwheel card. We placed the small squares on larger squares to keep the pattern going and have an area to glue.  Such wonderful colors and textures on this one.


Carol had us do polka dots with Q-tips and a rainbow ink pad.  Very fun and rewarding.
So bright and cheery --and maybe a  Valentine with the hearts?


Sue's card involved stenciling the background and positioning with a Thing-a-ma-jig.
Stenciling was easy and fun. The positioner takes a little more concentration, but the results are perfectly placed with multiples stamps making up the image.


I used a watercolor technique with re-inkers.  We dipped the watercolor paper into misted colors.
They came out so differently although we all used the same two colors of ink.


We had a choice of blue and green cardstocks for branch and sentiment die cutting.


I also added some glitter glue, a rhinestone or two and a butterfly for some glitz.
It's so great to work with creative people to make lovely things that can be used.
We put a few of the cards in the basket to sell and kept some for ourselves also,


Monday, January 12, 2015

Cuddle Quilts for Christmas

I made several Cuddle Quilts for the Food Bank to distribute this year as part of a community project. I told Lily I would make one for her and she could choose the fabrics.  She wanted snowmen and pine trees!  So, I got on Fabric.com and found some great prints for Christmas and winter.


Red and green polka dots span the Christmas season and take the quilt past the holidays through winter with a blue and white snowflake pattern for the backing.


The seven strips were cut 6.5 inches wide from selvage to selvage.
Couldn't be easier!


The cutest fabric had the trees Lily requested, but also had some penguins
and some shiny, silver threads.
Lily sleeps with her Cuddle Quilt every day now.
New design for spring and summer?
Seersucker?  Seashells?
Can't wait to get her input...


Cheery Christmas Card for 2014

When I think of my Mother, I visualize red tulips.  My Father died this past summer. Already I visualize a cardinal when thinking of him.  So this year's Christmas card had to include a cardinal, state bird of Ohio, my home state.


It took me a month to gather supplies and consider several ideas from Pinterest for cards using cardinals. I made several attempts and finally came up with a design I could produce 80 times before Christmas!


A Tim Holtz Alterations Collection Christmas Cardinal die cut block helped make it quicker 
to cut out the bird and the limb with two different colors at one time.


The twigs and the birds pile up.  Each will need some trimming for the final design.


Each cardinal became a little more realistic with shading. The edges and the belly were daubed with Ripe Avocado.  I added the black mask with black marker.  I cut the feet to make claws for grasping the twigs.  I added a rhinestone eye on each to complete the look.


I embossed the bottom of each panel with the sentiment "Happy Holidays".
The bird and branch will be on top.  The panel will be attached to the card base.


Card bases were Pinefeather Green from Papertrey Ink.


Branches go on ten at a time.


Pine needles are stamped on -- and a pine cone added too!


The cardinal sits on the branch.  I added some snowy sparkle and texture with 
a Martha Stewart product called Sparkle Texture Effect.  

And that's just the fun part!
I had to assemble the front panel on the card base, add a white insert, write notes, 
address envelopes and stamps--and get to the post office.
But I love to do it. Each card becomes a small gift for each recipient.
Merry Christmas 2014.
Cheer! Cheer! Cheer! to all--as the cardinals say.


Saturday, October 4, 2014

Easy Watercolor Technique

"Watercolor" may make you think that you need to be able to paint, but in card making with stamps it's easy!  Here's how:


Start with an A2 card base, in this example it's Papertrey Ink (PTI) Kraft Paper card stock.


Then choose a patterned paper to coordinate with your stamp pad colors.
Cut it just smaller than the card front cover so the edges show just a little.


Add a panel of coordinating paper, leaving a wider patterned border all around.
In this example, both of these papers were in my stash--and of unknown origin or color name.


Choose a stamp with a simple design and some flat areas.  
I found "Wildflower" by Technique Tuesday available at JoAnn.com
A strip of paper for testing is a great help (see right hand side).
Use some watercolor paper cut a little smaller than the focus panel.
This is inexpensive watercolor paper found in drug stores or discount stores.
Also have an atomizer filler with water handy.  
The one shown is a Stampin' Up Stampin' Spritzer (upper left).


I stamped the leaves first in PTI Ripe Avocado and then the bloom in Pure Poppy.
Hold the atomizer about 12 inches away from the inked stamper and mist lightly.
I held it over the wastebasket to save the floor!
On the sentiment, do not use the atomizer for crisper edges and brighter print.


I used a little dragonfly stamp from the same set to fill in the negative area.
That's a Color Box Gold pigment stamp pad.


To make the whole design a little less crisp, I blended PTI Fine Linen 
over the edges with an Inksentials blender tool.


and distressed the edges with a Tim Holtz frayer.


The finished card with all supplies shown.


My inspiration card (upper center) was made by Sue at a card making session this summer.
I had some distressed writing paper in my stash, but decided to make 
another version with a stamped writing background.


Using PTI Fine Linen and Background Basics Text Style Stamp,
I added some more distressing to the paper background
and then "watercolor" stamped the leaves and bloom and sentiment on top.


The finished product.


Monday, August 11, 2014

August Get-together of the Laurel Ridge Card Crafters

Our group met again today to create cards for ourselves and our Outreach Committee.  Three of us arrived with kits to make a variety of cards.  As always, the cards were diverse in color combinations, style and purpose.


The first kit was mine with an embossed background and a side panel die-cut. The kits were available in all colors: pink, purple, blue, green and teal.  There was a script embossing folder and a swirls embossing folder to use depending on the purpose and desired background of the individual crafter. This example has a script embossed background.
The side panels were cut with a Spellbinders label die-cut in two sized and colors.  This example used only one larger panel on the folded side (left) since the coordinating color was used for the card base and the embossed sentiment (and no extra scraps were available!).  The daisy with the rhinestone center was purchased and added to anchor the sentiment and to tie the white lace and white embosssed background together using the Rule of Three.  The light green paper was pearlized for a nice sheen.


Bonnie's kits included several patterns of black and white papers cut in strips and applied to the black background cardstock. She had die-cut the lace borders in two different patterns. She had also die-cut the leaves and flowers which she had pre-stamped.  We daubed the flowers to fill in more color on the white cardstock and used a marker to darken the shading.  Some glitter added pizzazz to the blooms.  Each crafter chose a different sentiment.


Sue brought kits to make a square card with an autumn color scheme.  She had the Almost Navy cardstock for the card base pre-cut and scored to fold.  We die-cut the scalloped circle and stamped the middle circle with a two-step stamp set, using a Stamp a Ma-jig to place the fill color and sketched outline correctly.  The background leaves were double off-stamped and misted with water to create a shadowy effect. The yellow-orange ink pad was called Saffron.  Great color!


Sunday, July 27, 2014

A New Purchase and Some Other Inspirations for This Card Design


I made this card for my aunt and when I finished,
I remembered that she used to do tole painting.
The influence shows in the design and colors.


I found this photo of a tole tray after making the card.


I had been watching some videos from Papertrey Ink and Splitcoaststampers
on negative die-cut sentiments.  We had also used negative floral and butterfly die-cuts
in our monthly paper making group's sessions this summer.

I started with yellow gingham paper and black card stock and the birthday sentiment die-cut.
Then I added some larger flower negative punches (a Stampin' Up item) and 
some leaf and vine positive die-cuts (Papertrey Ink, I think).
It still didn't look right and I remembered my new purchase:
A smaller Martha Steward floral punch with three coordinating stamps.
I negative punched those smaller flowers among the larger florals.
Then I found some scraps to positive punch with the smaller floral and scatter about.
I used the center stamp from the small floral punch pack to give the small flowers some detail.
A few yellow gold rhinestones complete the look.

It's amazing to me how things come about once creativity sets in!
But also how all your background experiences and knowledge play a part too.
And then you need to have a "stash" to be able to achieve your ideas.
A new craft room to store the "stash" and provide lighting and air-conditioning helps, too!


A New Design Inspired by a New Purchase


I made several versions of this design for birthdays and praise cards.  My grandsons each received one with an iTunes card for their accomplishments this summer.  Praise can only go so far to keep the summer sensational.  As teenagers, a cash card is always welcome with warm-hearted words.

It's an easy design but I couldn't have accomplished it without a new purchase--a star die cut.  That made me think about a supply list for this design and how much you need to keep in stock as well. So, here's the list of supplies needed with "in stock" items first:
  • Staples Ivory cover stock 67# for card base
  • K & Company Confetti Paper for background (tablet of paper purchased a couple years ago)
  • Sampler of Papertrey Ink cardstock colors (good variety and weight for die cuts with sharp points)
  • Scor-tape 1/8 inch for attaching background and stars to base
  • Scotch Permanent Adhesive dot roller for attaching stars (plenty of those with refills necessary)
  • Recollections foam adhesive circles for popping the star (I even use the margins around the circles).
  • X-acto corner rounder  (I use it all the time!)
  • happy birthday in cursive stamp for inside birthday cards (set of 3 phrases on wood blocks)
  • for you stamp (from unknown set of clear plastic stamps)
  • Rubber Stampede navy blue/Iris stamp pad (set of 12 cubes)
  • Queen & Co. adhesive Twinkle Stars (leftover from Christmas cards)
And last, but not least (it's the main attraction):
  • Lifestyle Crafts Nesting Star die cuts in 8 sizes
It takes a stash to create a simple card!
New purchases can be the inspiration.


Tuesday, July 22, 2014

My New Craft Room

Well, here it is! Ta-da!  My new room for crafting is ready to use.


Welcome!
through the French doors 
which I have always wanted to have in a room...


on the left side is a bench with no cushion--yet.
To the far left is the door to the attic.
The shelving is a closet system.


I even have an empty shelf!


There is a 9 foot counter top at the back of the room
where the ceiling slopes.  It is lit with track lighting.
There is movable storage underneath.


I can move the spotlights on the track to highlight the corner.
Here are some recent kits I put together for my card-making group.
This might become a photo box in the future?


Another 9 foot counter top is my work area
with more storage from Ikea: floating shelves, Alex white cabinet with drawers
and metal paper storage.


My work area looks out on the stairwell and 2-story entrance hall.
I get wonderful indirect sunlight at the end of the day.
But the portable Ott light and a 3 lamp light fixture above the window
as well as a ceiling fixture behind me
all add up to great light on my work area.


Today's project:  masculine birthday cards.


Come visit any time!


The craft room is right off my guest bedroom!