The pieced items became a variety of thank you cards.
Saturday, January 11, 2014
Christmas Thank You Cards
Before Christmas, we made some tree and ornament cut-outs using a mosaic technique I found on the Splitcoaststampers web site. I showed my card-making group the technique using Modge Podge and paper tiles. We each created a few paper mosaics to take home to incorporate into our own card designs. I wasn't sure how to use them until now--after Christmas.
Monday, January 6, 2014
Christmas Card 2013
I tried to keep it simple, but of course, it became complicated!
I borrowed a punch from my neighbor and fellow paper crafter (with a wonderful collection) to make the silver and green boughs. The punch is Martha Stewart, but I'm not sure it's still available to buy.
I love my Stampin' Up craft scissors and also Scor-Tape for attaching a heavy layer to a card.
Next layer went on with Scotch adhesive in a snail dispenser. Much easier to use!
And the third layer went on with dimensional adhesives from Recollections.
I found some adhesive twinkle stars from Queen and Company that fit over the stamped star.
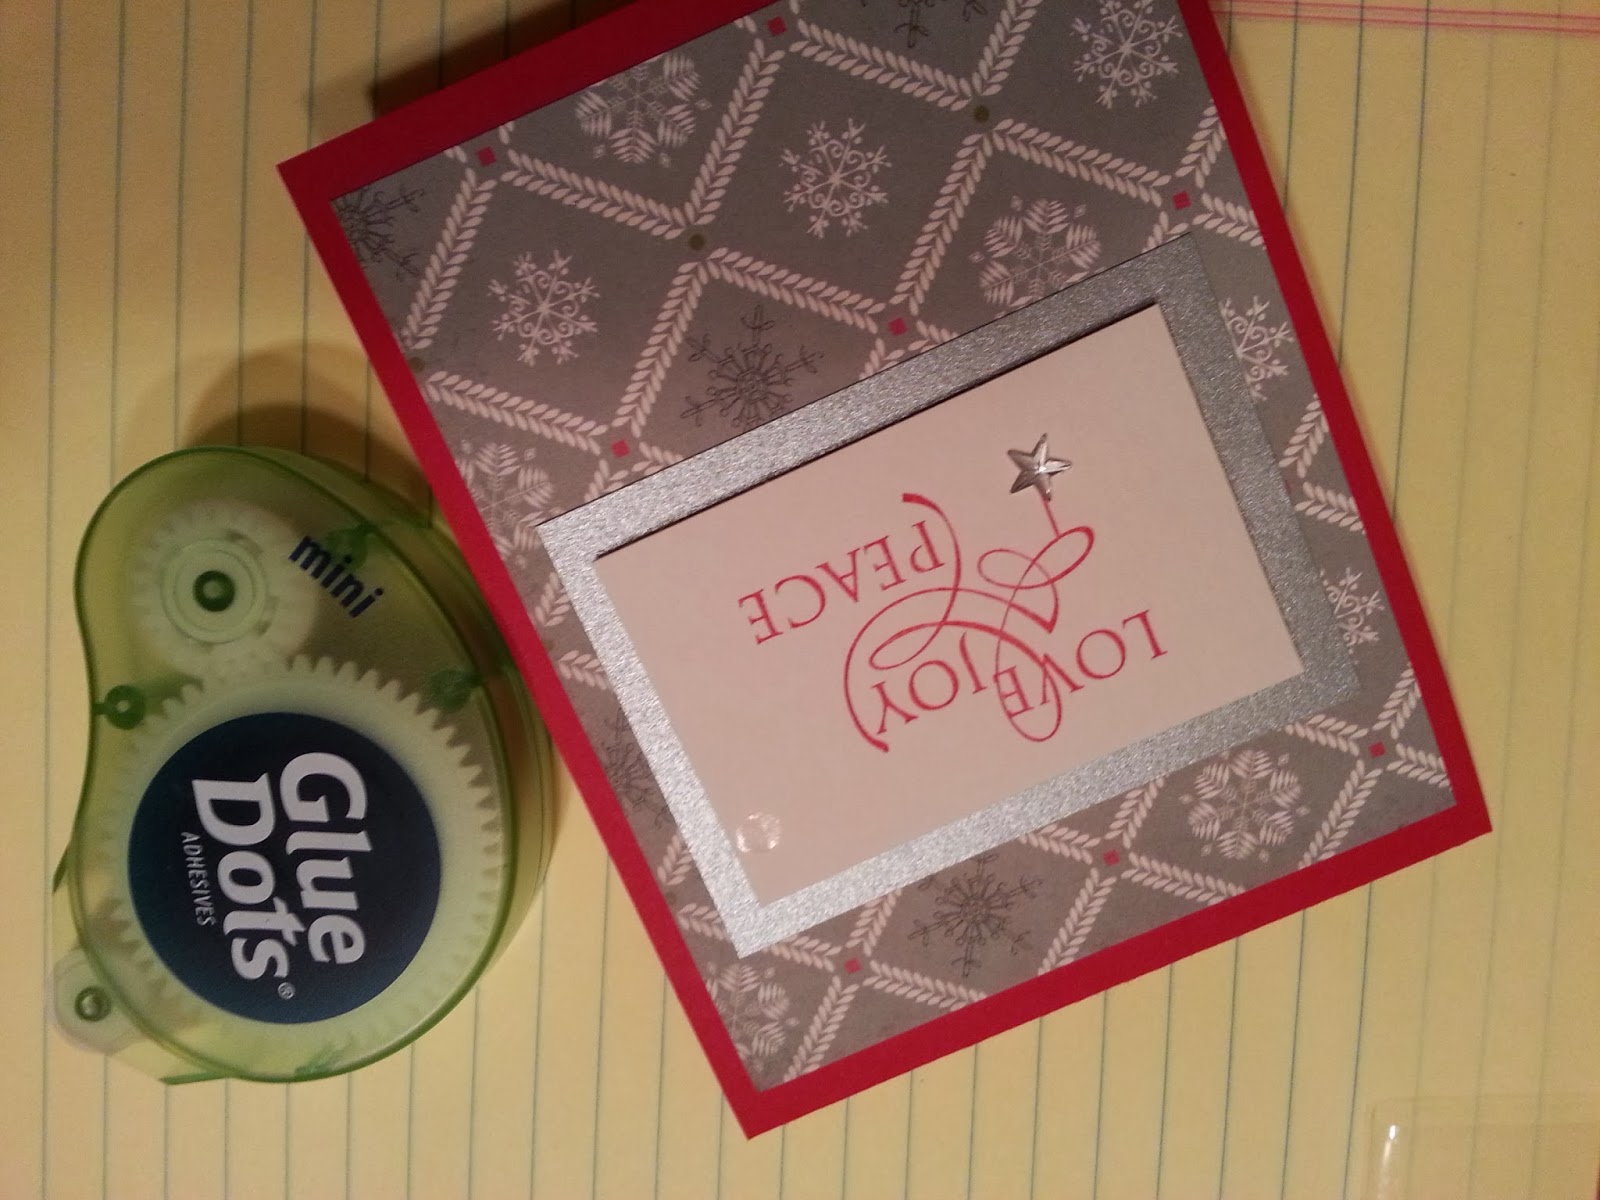
My pictures are upside down on the blog. I've checked the original files on my computer --
and they are upright there and on the blog upload. I am not sure why this is happening!
Then I used mini Glue Dots and tweezers to attach the pine boughs.
A metallic string bow from Bowdabra finished the corner flourish.
And the card is right side up!
I used a new Fiskars tool for this project. The stamp press helped me make 80 perfect impressions of the stamp centered on the cardstock. Now I'm getting one photo upside down and another right side up in one download. Not a perfect impression...
I used a white pigment ink to stamp some snowflakes on the inside of the card (and for the second layer when I ran out of silver paper). It took too long to dry and I used VersaMagic chalk ink in Cloud White instead. The stamp block is from Hero Arts and is called Starry Sky.
Looked like snowflakes to me!
Production mode for the handmade stamp on back.
Final touch...
New Year, New Quilt
Same old pattern for the last of a trio of rag quilts for my grandsons.
This one is for the youngest, 11 tomorrow. The colors are from the Connecting Threads Spice Blossom Collection: cinnamon swirls, pumpkin (pie), cardamom, allspice plaid. I renamed the pine and terra cotta mirage flannels Parsley, Sage, Rosemary and Thyme and chili powder. I also added some rectangles from the other two quilts: black is pepper and tweedy brown is brown sugar.
Craig's quilt made in 2013 with a camper theme and a "moose in the woods"
patterned flannel rectangle also used in Robbie's newest quilt.
The first quilt from Christmas 2011 now belongs to William and their dog Henry too, I suspect.
Now, everybody can stay warm this winter!
Saturday, August 17, 2013
And a Little Bit of Sewing
I also did some sewing this summer, using a jelly roll to make a quilt for shavasana during my yoga classes. It turned into a mat for Lily to use to learn to sit and now crawl. I like the colors.
The lasagna quilt is easy to make--and quick too! For some directions, check out this web site.
And here she is using it to sit and crawl!
And a Few More Designs
I've met several times with my paper crafting group this summer. We always bring a design or two and kits for others to make the cards based on our design sample. Here are some of the designs and kits I offered at these sessions.
This was my first attempt at a masculine theme.
And this was a second remake on the same theme: stamped background, embossed texture
and layers with a dimensional compass.
This was a first attempt on a tri-level matted floral card.
Sorry it needs to be rotated but it just won't load correctly online...
And this one had a touch of dimension added to it.
A little texture, some graphic color blocking for another masculine card.
These cards just used scraps of paper and trims and shapes
from my scrap basket, but I think they turned out fine.
Some other summer creations

Simple layout, but the "popped" or dimensional bloom makes it special.
Masculine cards are always needed--and I usually make the kits
in my group of papercrafters.
Some card making inspiration
It's been a long time since I last posted, but I have been creating since Lily was born at the end of January. I will try to catch up on some projects by posting on the blog.
Here's what I created today based on a card I received from friend, Sue, who lives in Nova Scotia (with summer outfit for granddaughter, Lily). Could babysitting Lily four days a week be the reason for not posting sooner???
And here are the two cards I made from the inspiration of patching the background with coordinating colors and prints.
A fun afternoon of crafting with the window to my garden open and Andrea Bocelli on CD.
Here's what I created today based on a card I received from friend, Sue, who lives in Nova Scotia (with summer outfit for granddaughter, Lily). Could babysitting Lily four days a week be the reason for not posting sooner???
And here are the two cards I made from the inspiration of patching the background with coordinating colors and prints.
A fun afternoon of crafting with the window to my garden open and Andrea Bocelli on CD.
Subscribe to:
Posts (Atom)