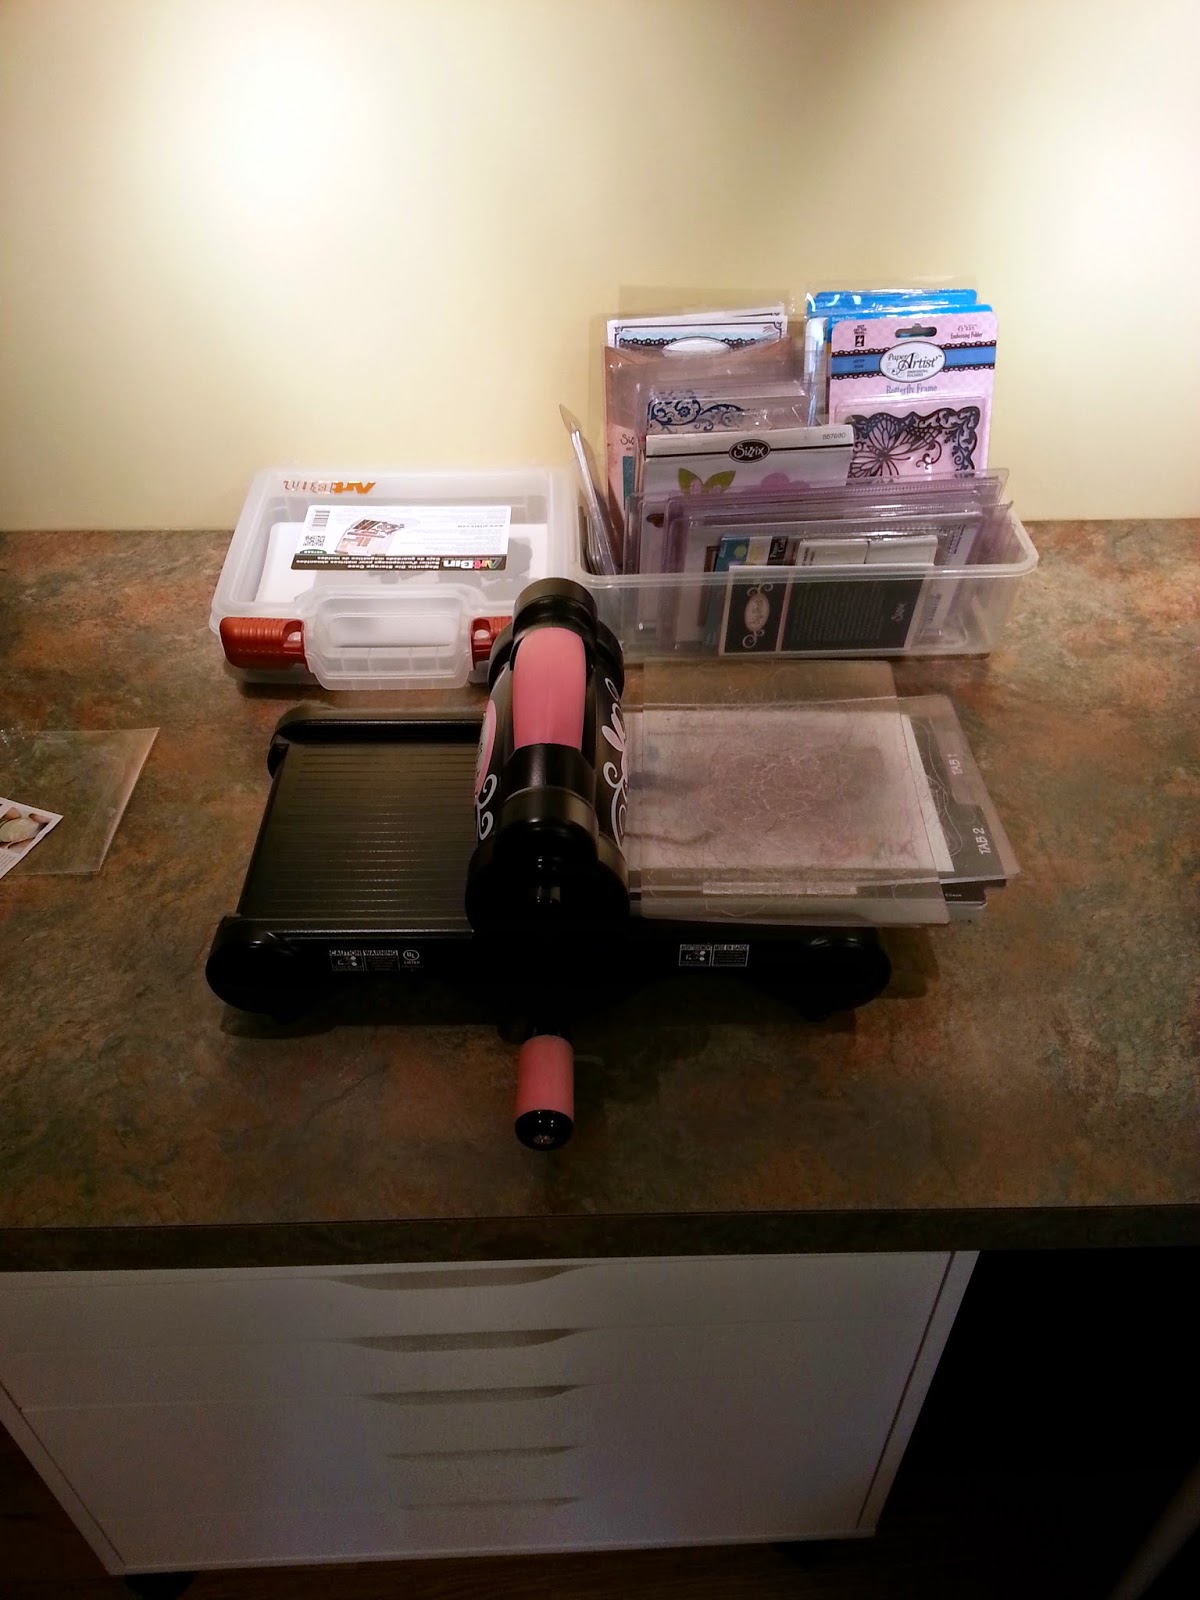
Sunday, July 27, 2014

A New Design Inspired by a New Purchase


I made several versions of this design for birthdays and praise cards.  My grandsons each received one with an iTunes card for their accomplishments this summer.  Praise can only go so far to keep the summer sensational.  As teenagers, a cash card is always welcome with warm-hearted words.

It's an easy design but I couldn't have accomplished it without a new purchase--a star die cut.  That made me think about a supply list for this design and how much you need to keep in stock as well. So, here's the list of supplies needed with "in stock" items first:
  • Staples Ivory cover stock 67# for card base
  • K & Company Confetti Paper for background (tablet of paper purchased a couple years ago)
  • Sampler of Papertrey Ink cardstock colors (good variety and weight for die cuts with sharp points)
  • Scor-tape 1/8 inch for attaching background and stars to base
  • Scotch Permanent Adhesive dot roller for attaching stars (plenty of those with refills necessary)
  • Recollections foam adhesive circles for popping the star (I even use the margins around the circles).
  • X-acto corner rounder  (I use it all the time!)
  • happy birthday in cursive stamp for inside birthday cards (set of 3 phrases on wood blocks)
  • for you stamp (from unknown set of clear plastic stamps)
  • Rubber Stampede navy blue/Iris stamp pad (set of 12 cubes)
  • Queen & Co. adhesive Twinkle Stars (leftover from Christmas cards)
And last, but not least (it's the main attraction):
  • Lifestyle Crafts Nesting Star die cuts in 8 sizes
It takes a stash to create a simple card!
New purchases can be the inspiration.


Tuesday, July 22, 2014

My New Craft Room

Well, here it is! Ta-da!  My new room for crafting is ready to use.


Welcome!
through the French doors 
which I have always wanted to have in a room...


on the left side is a bench with no cushion--yet.
To the far left is the door to the attic.
The shelving is a closet system.


I even have an empty shelf!


There is a 9 foot counter top at the back of the room
where the ceiling slopes.  It is lit with track lighting.
There is movable storage underneath.


I can move the spotlights on the track to highlight the corner.
Here are some recent kits I put together for my card-making group.
This might become a photo box in the future?


Another 9 foot counter top is my work area
with more storage from Ikea: floating shelves, Alex white cabinet with drawers
and metal paper storage.


My work area looks out on the stairwell and 2-story entrance hall.
I get wonderful indirect sunlight at the end of the day.
But the portable Ott light and a 3 lamp light fixture above the window
as well as a ceiling fixture behind me
all add up to great light on my work area.


Today's project:  masculine birthday cards.


Come visit any time!


The craft room is right off my guest bedroom!


Sunday, July 13, 2014

Back to the Crafts

On May 1st, we started construction of a craft room for me in part of our attic off the guest bedroom.  I drew out on graph paper what I wanted and our great contractor made it look just like my drawing. It is complete except for two shelves that are missing.  I'll post photos of the work space soon, but for now--I'm using it!  Photos will appear when everything is stashed away.

One of the first times I used it was with my daughter and granddaughter.  Here is Sara's design for a bridal shower card inspired by her 80's gift wrap and the bride-to-be's color choices.


Colorful and bright--and definitely 80's inspired!
She should know. She lived it young!


Lily, 18 months old, made this card by choosing colors from a container of punched balloons.
Balloons are one of her favorite things right now!
Sorry about the focus. My phone was not well charged and couldn't hold a focus.
The colors are the important design element!


And I made a card for a friend who recently retired.
I was inspired by Sara's scraps.
We both wish my "Congratulations" stamp was a little bigger font!
I'll have to add that to my wish list.

But, all in all, it was a really fun way to initiate the new work space--three generations creating!


Tuesday, April 29, 2014

Wedding Shower Gift for California Niece

I just finished and presented the baby quilt for my Connecticut niece and need to make a bridal shower gift for my California niece--in one day!  It has to arrive by mail on Friday...

So, let's start sewing...

The apron ties and neck straps, both long and short (with D-ring) are pressed in half and half again.  Sew all around the edges and they're ready to attach.


Here's the apron body pre-washed, cut and pressed.
More Amy Butler fabrics, of course!


Pin the ties and straps in the appropriate spots and tuck them inside.


Here comes the other side of the reversible chef's apron to sandwich the straps and ties inside.  Pin it all in place.


Be sure to leave the bottom open for turning right sides out!


Sew edges all around after turning and pressing.  I go around twice--once at the edge and again about 1/4 inch in from the first stitching for durability.


I love this Sew Eez tool for turning and sharpening corners. My grandmother, Bido, gave it to me long ago when she taught me to sew.  
I found it on Etsy and EBay as a vintage sewing tool from mid-century.


I guess that makes me a vintage sewer!


But I'm still pretty fast. The apron is done. 
Now on to the note pad holder.


Here is the one I made for myself a couple years ago-- 
and the pattern I bought to make it by This & That.

You can make "Just a Note" with scraps. 
These happen to be more Amy Butler fabrics from other projects.

The inside is pieced with right and left side for two different sized pockets.


The pieces are interfaced with fusible facing for body.
The pockets are pressed in half for extra sturdiness.


Flaps go on the outside which is one piece


and the inside with the pockets.


Attach some Velcro to the inside flap and on the outside
at the end opposite the flap.


Attach some batting to the back of the pocket side 
just inside the 1/4 inch seam to make it soft.


Sew the inside pocket piece and the outside piece right sides together.  Leave the bottom open 4 inches to turn. Press and then stitch all around the edges.
I stitch in the ditch down the center seam and the flap seam to make the note holder puffier like a quilt. 

Add a note pad, a pen, some sticky notes to make a great note pad for grocery lists or to-do lists.  I use some Tacky Glue to attach a scrap of fabric on the top of the pad for a really finished and coordinated look!


Closed!


Whew!  The gifts are done and ready to mail out tomorrow.
This vintage sewer made two items in one day!


Thursday, April 24, 2014

Amy Butler Redux

Sara brought me an old Amy Butler sheet set to make into valances and a bed skirt for Lily's bedroom. Now that Lily's a toddler, her room decor needs to grow with her--even if the sheets have already been decor for Mom and Dad's bedroom earlier in their marriage.


The pillow cases had a great border and were just the right size to make a stagecoach style valance.  I split the seam and opened up the pillow case.  I cut the valance to hang 18 inches.  I attached the finished valance with Velcro directly to the wood blind header.


I used some lining from the Amy Butler panels my sister-in-law sent me to use for yoga bags.  I save everything!  These valances are not just redux-- but also recycled.


I saved the labels also!  Re-attached, recycled, redux...


I attached tabs front and back at the middle seam to gather the valance and hide the seam.
This creates two points when the valance is hung.


And the points make a perfect spot for hanging some colorful flower people found at Pier One.


And with the flat sheet, I made a bed skirt.

Ta-da! or La-dee-da!?


Sunday, April 20, 2014

April Card Designs

We made some great note cards this month, but missed one of our regulars and her kits.  We had a new crafter join us--and hope she continues to enjoy our monthly get-together.  She'll bring a card design and kits next month.


Bonnie's birthday bee card


Dianne's pink and blue floral frames--with butterfly


Boy Quilt Continued

The Great White Hunter has arrived!  That's what his great-grandfather calls him!  His quilt is ready to present to him next weekend.  It was great fun designing it and sewing it for him.  My first boy-themed rag quilt.

I started with the small squares, sewing two together in a continuous seam which I clipped apart later.


Then I sewed the two squares with opposite patterns together in a continuous seam.
You can see one whole big square of small squares open beyond the sewing machine.


Sew the big squares together (all three layers in this quilt as I added a third layer of solid fabric in primary colors) with a big stitched X to secure the layers.  I did the same with the patched squares.


Sew together the large and small squares to form a row of seven squares.
Then sew seven rows together, row by row, in the desired pattern.
Make sure the seams are all sewn flat, front and back.  
It takes some pinning/unpinning and some finger checking as it slides under the pressure foot.


In this photo, you can see the third layer of red, yellow and green in the large squares.
You can also see the pattern of the rows and the diagonals they create as they are sewn together.


The reverse side is usually all sewn seams, but on this quilt I made a mistake and decided to turn it into a purposeful design of some ragging on the outer rows.  All of the open seams are clipped to create the ragging. After washing and drying, the ragging makes the quilt come alive with texture and color.


Love the blues and the patterns in this quilt!