Tuesday, February 11, 2014

February Card Kits

My card-making group met yesterday to make greeting cards for ourselves and/or the Outreach Committee in our community.  Here are my samples for the group to make.


 A masculine card with embossed script background and a green-patterned paper, all tied up with some twine.  A dimensional drop shadow sentiment shape punched from the two main colors grounds the design on the off-white card (shown on a wood table top).


The other design used a patterned background with rounded corners and a scalloped oval for the sentiment.
The bloom was punched and stamped two or three times with different shades of orange and yellow.  These colors were blended then with a blender pen. Brown leaves, the dots on the scallops and the sentiment's chocolate ink complement the kraft paper card base.

Simple designs with good color contrast should make a bright note when sent to those in need of a lift.

Photo Album Cover

I recently found (a long story, this is the short word for it) about 90 old black and white family photos. I ordered archival photo sleeves and a 3-ring binder for storing the originals (after I scanned them all and stored the digitized version my computer).  I was really disappointed that the binder was an ugly black color with a slick finish and that the album would not close completely.


So, the old creative mind got busy and I thought of covering it with fabric with a Velcro tab. I found some scraps of fabric in my Amy Butler stash, some Velcro and some polyester batting.  Here's the result:


And here is how I did it!

I laid the album opened on some kraft paper and drew lines 5/8 inch bigger all around.  I cut out two pieces this size in the main fabric.  I used a scrap doubled to make the tab in a coordinating fabric.  I used the same coordinating fabric to cut pieces almost the same size as the front and back (without the spine) and pressed those in half.  Cut one large piece of batting the size of the entire album cover and another small piece for the tab.


Start sewing the tab by attaching the polyester batting to the back of one piece with a 1/4 inch seam.


Then make a sandwich of the front and back with right sides together and the batting on top of one piece. 
Be sure to leave one side open for turning.


Trim the corners and edges and turn the tab right sides out.  
Sew a piece of Velcro on the sewn end opposite the open end.

Sandwich the batting, the album cover front right side up, and the side pockets at the two ends.  
Sew all the way around.  
Please notice: The pockets should be pressed wrong sides together and right sides showing on top of the sandwich. I had to rip the seam out and do it over--but you'll see how this became a plus shortly.


Sandwich


Side pockets on the ends (right sides showing this time).


Sew through all layers, all the way around with a 1/4 inch seam.
Don't forget to place your tab centered on the back cover between the side pocket and the back fabric.
The front cover should have a piece of Velcro centered and about 1 inch in from the seam.


Before I ripped the side pocket off and re-pressed it right side out to sew back on, 
I noticed the pattern which I had centered on the front.
Why not stitch around the flowers frame and quilt the front cover?


So I did!  All three large patterns on the front and back and spine.  Nice touch!
And a good save for that mistake and the time it took to correct it.


The final sandwich has front with batting, side pockets, tabs and Velcro 
and the back cover with right sides together.  Sew 1/4 inch


but not all the way around.  Leave an opening on the bottom so that you can turn the fabrics right side out.
Don't forget to trim the corners first for neater corners on the finished product!


Now the old plastic album looks nice--and stays closed to protect the old photos.
That's my Dad and his Mother, my grandmother Nana, about 1930.


Saturday, January 11, 2014

January Cards for Papercrafting Group

We meet Monday to make some cards for ourselves, for the Outreach Committee to send and/or for sale at the clubhouse.  It was almost 60 degrees so I could spend some time in my basement studio without freezing.  I turned on the space heater, wrapped in a blanket and put on some heavy socks and thick-soled shoes.  Some coffee and leftover Christmas candy helped too!

The first card uses a frame die-cut to highlight some floral stamps.
 
 
The flowers (dahlias?) were stamped with a rock and roll technique. Press the stamp design on one color stamp pad and roll the edges around in a different color. I stamped lines of handwriting over the blooms with Papertrey Ink's Fine Linen stamp cube for an antiqued look.
 
 
The paper frame was two-sided paper. Either side could be used as the frame.  I chose the dark solid color for the sample, but will make another with the lightly patterned paper as the frame.
 
 
I finished with a script For You stamped in Papertrey Ink's Chocolate Chip and then sprayed the stamped area with Smooch Spritz in gold for some shimmer.
 
 
The dark frame could use a gold bow at the bottom to anchor the design. I might add that to the kit!
 
The second card uses color contrast instead of shimmer.
 
 
I stamped three feathers in purple, blue and green on the white sentiment band
and anchored it with a bright green scallop
to match the ribbon and first layer of the backgrounds on the black card.


The bright green layer is embossed with a Cuttlebug embossing folder D'Vine Swirl. The scallop die cut is from Papertrey Ink. The sentiment stamp is from Stampin' Up--and the
sheer ribbons in purple and green are from Christmas Tree Shoppes.
 
Two pretty, quick cards to make with items already in my stash!


Christmas Thank You Cards

Before Christmas, we made some tree and ornament cut-outs using a mosaic technique I found on the Splitcoaststampers web site.  I showed my card-making group the technique using Modge Podge and paper tiles. We each created a few paper mosaics to take home to incorporate into our own card designs.  I wasn't sure how to use them until now--after Christmas.


The pieced items became a variety of thank you cards.


Monday, January 6, 2014

Christmas Card 2013

I tried to keep it simple, but of course, it became complicated!

 
I borrowed a punch from my neighbor and fellow paper crafter (with a wonderful collection) to make the silver and green boughs.  The punch is Martha Stewart, but I'm not sure it's still available to buy.
 
 
I love my Stampin' Up craft scissors and also Scor-Tape for attaching a heavy layer to a card.
 
 
Next layer went on with Scotch adhesive in a snail dispenser.  Much easier to use!
 
 
And the third layer went on with dimensional adhesives from Recollections.
 
 
I found some adhesive twinkle stars from Queen and Company that fit over the stamped star.
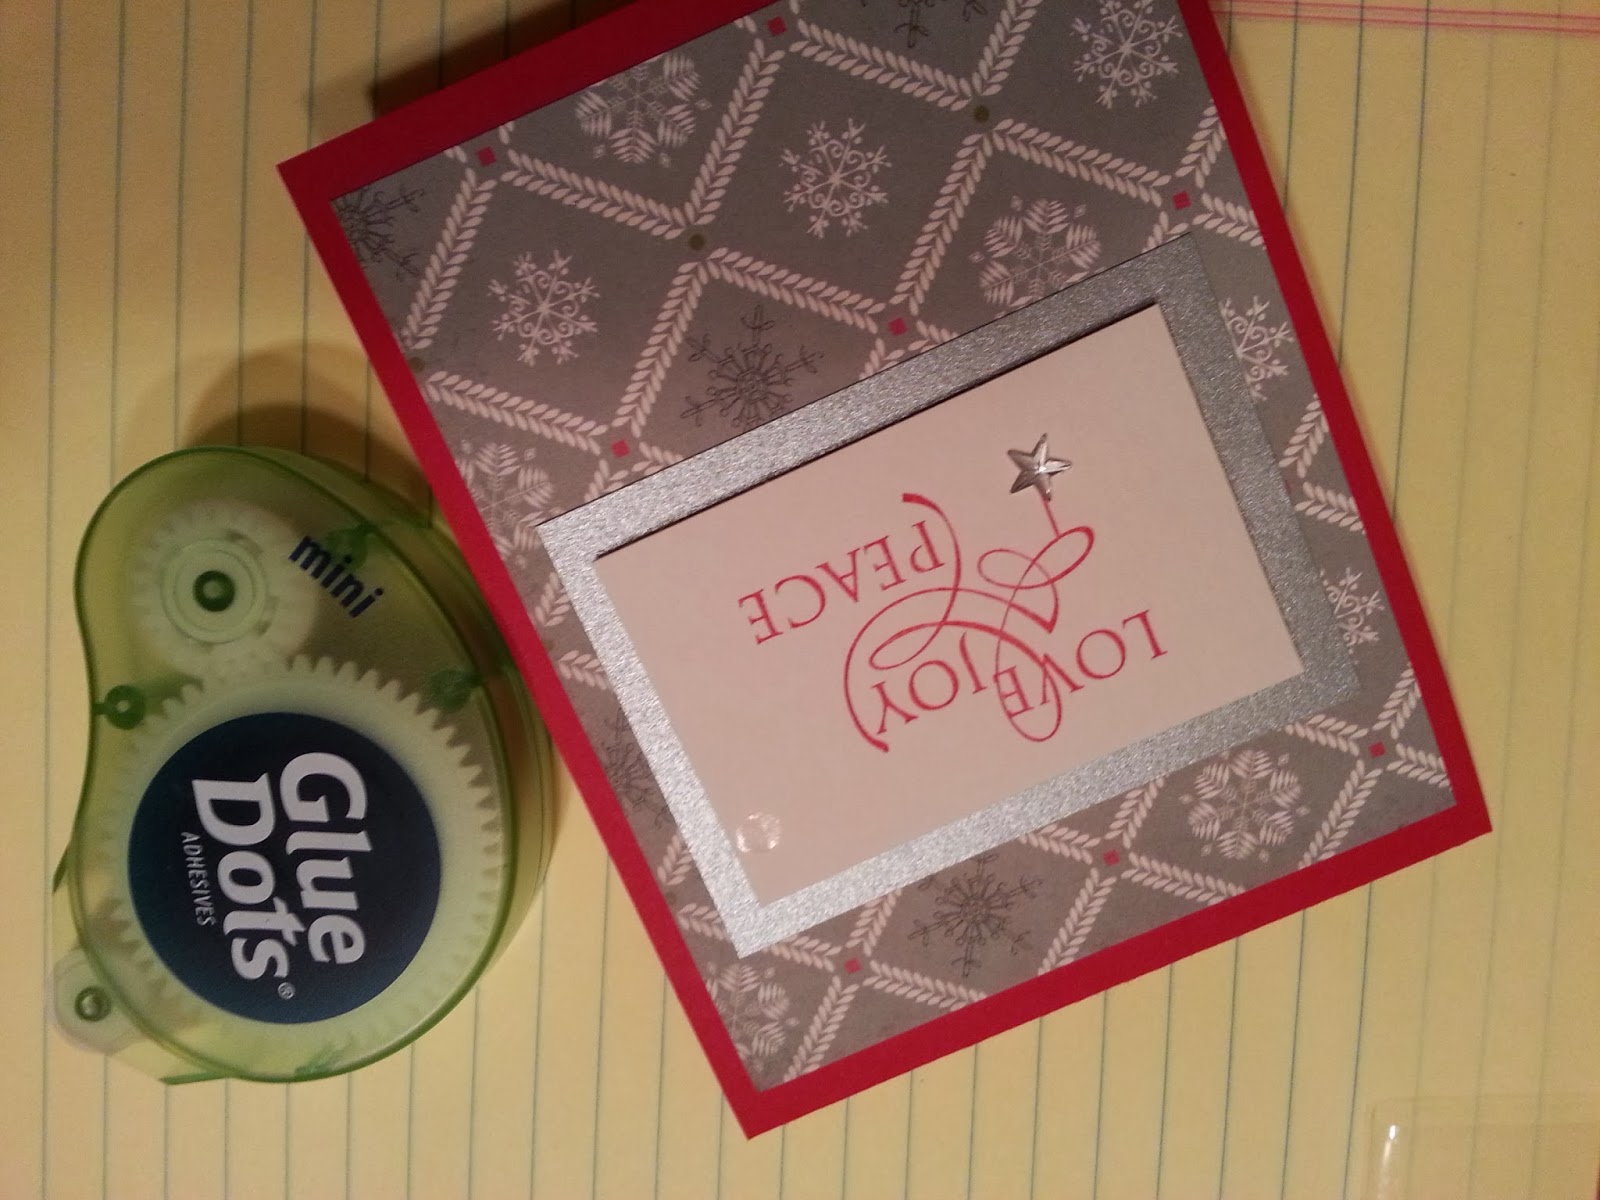
My pictures are upside down on the blog. I've checked the original files on my computer --
and they are upright there and on the blog upload. I am not sure why this is happening!


Then I used mini Glue Dots and tweezers to attach the pine boughs.
 
 
A metallic string bow from Bowdabra finished the corner flourish.
And the card is right side up!


I used a new Fiskars tool for this project. The stamp press helped me make 80 perfect impressions of the stamp centered on the cardstock.  Now I'm getting one photo upside down and another right side up in one download.  Not a perfect impression...
 
 
I used a white pigment ink to stamp some snowflakes on the inside of the card (and for the second layer when I ran out of silver paper).  It took too long to dry and I used VersaMagic chalk ink in Cloud White instead.  The stamp block is from Hero Arts and is called Starry Sky. 
Looked like snowflakes to me!
 
 
Production mode for the handmade stamp on back.

 
Final touch...


New Year, New Quilt

Same old pattern for the last of a trio of rag quilts for my grandsons.


This one is for the youngest, 11 tomorrow.  The colors are from the Connecting Threads Spice Blossom Collection: cinnamon swirls, pumpkin (pie), cardamom, allspice plaid.  I renamed the pine and terra cotta mirage flannels Parsley, Sage, Rosemary and Thyme and chili powder.  I also added some rectangles from the other two quilts: black is pepper and tweedy brown is brown sugar.

 
Craig's quilt made in 2013 with a camper theme and a "moose in the woods"
 patterned flannel rectangle also used in Robbie's newest quilt.
 
 
The first quilt from Christmas 2011 now belongs to William and their dog Henry too, I suspect.
Now, everybody can stay warm this winter!
 

Saturday, August 17, 2013

And a Little Bit of Sewing

I also did some sewing this summer, using a jelly roll to make a quilt for shavasana during my yoga classes.  It turned into a mat for Lily to use to learn to sit and now crawl.  I like the colors.


The lasagna quilt is easy to make--and quick too! For some directions, check out this web site.

 
And here she is using it to sit and crawl!