
I borrowed a punch from my neighbor and fellow paper crafter (with a wonderful collection) to make the silver and green boughs. The punch is Martha Stewart, but I'm not sure it's still available to buy.

I love my Stampin' Up craft scissors and also Scor-Tape for attaching a heavy layer to a card.

Next layer went on with Scotch adhesive in a snail dispenser. Much easier to use!

And the third layer went on with dimensional adhesives from Recollections.

I found some adhesive twinkle stars from Queen and Company that fit over the stamped star.
My pictures are upside down on the blog. I've checked the original files on my computer --
and they are upright there and on the blog upload. I am not sure why this is happening!
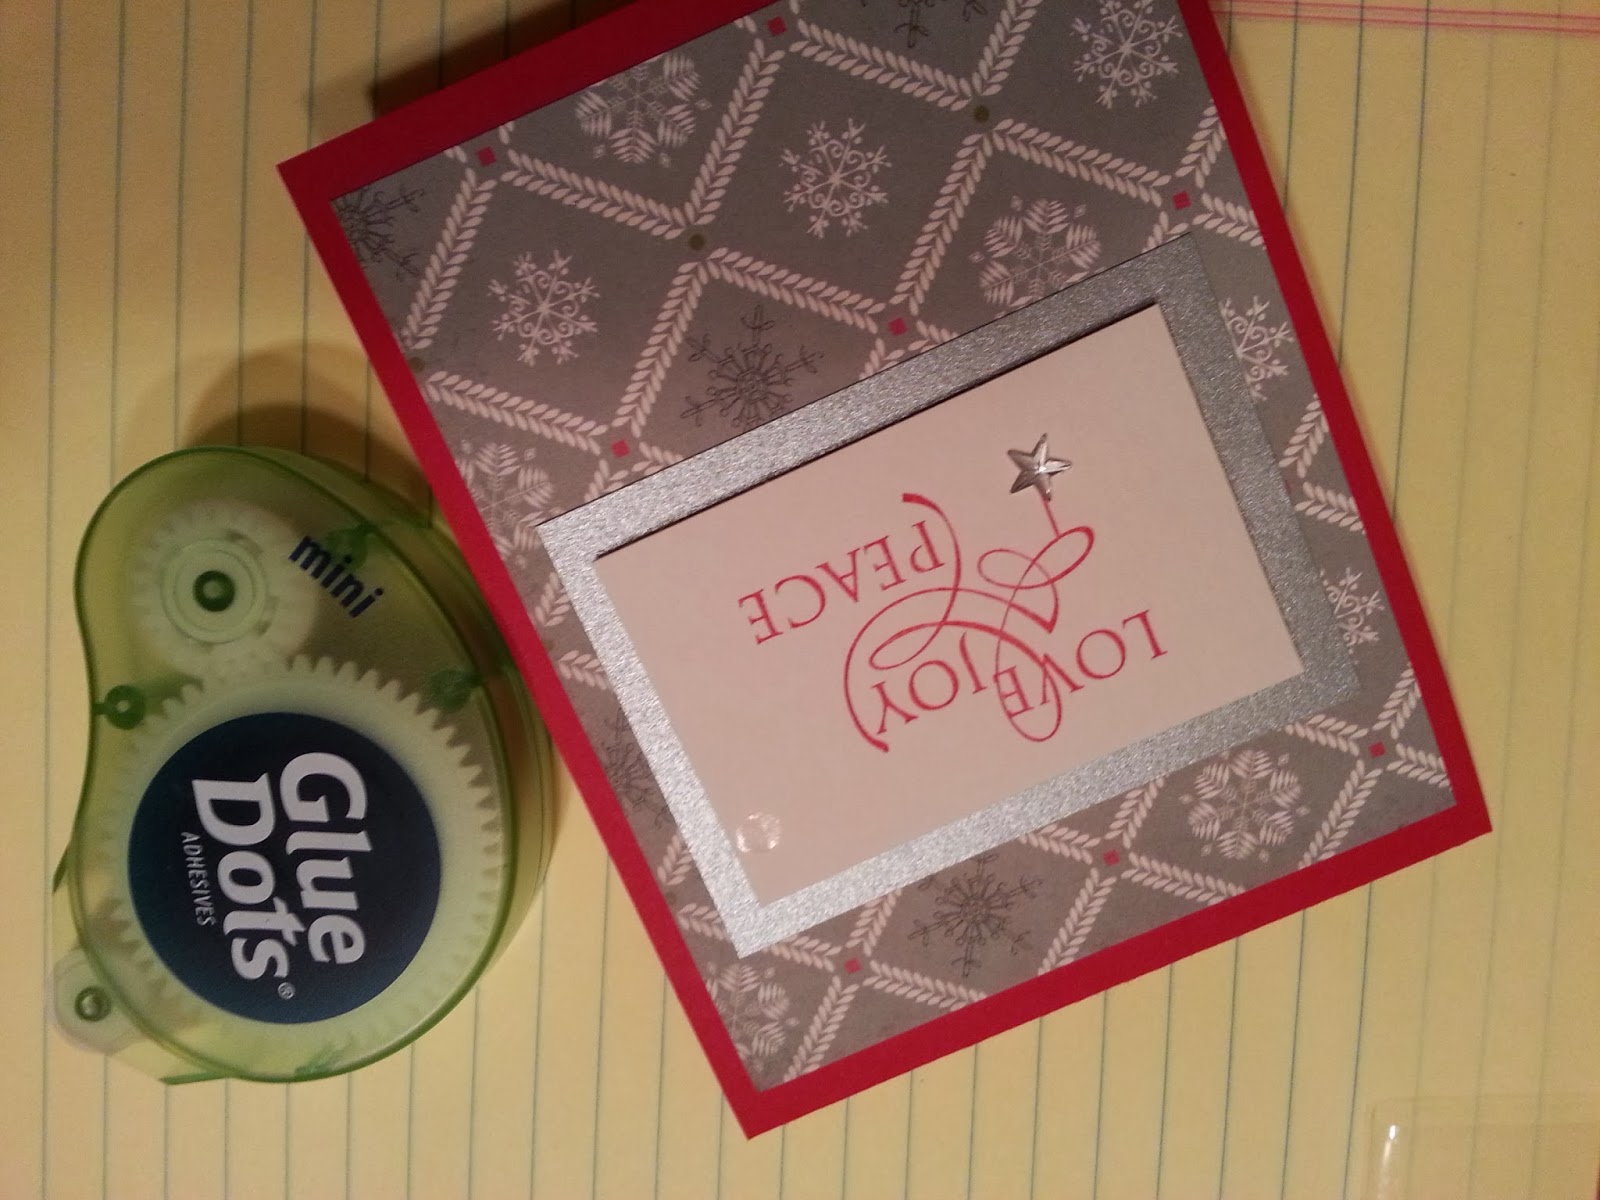

Then I used mini Glue Dots and tweezers to attach the pine boughs.

A metallic string bow from Bowdabra finished the corner flourish.
And the card is right side up!


I used a new Fiskars tool for this project. The stamp press helped me make 80 perfect impressions of the stamp centered on the cardstock. Now I'm getting one photo upside down and another right side up in one download. Not a perfect impression...

I used a white pigment ink to stamp some snowflakes on the inside of the card (and for the second layer when I ran out of silver paper). It took too long to dry and I used VersaMagic chalk ink in Cloud White instead. The stamp block is from Hero Arts and is called Starry Sky.
Looked like snowflakes to me!

Production mode for the handmade stamp on back.

Final touch...

No comments:
Post a Comment