Sunday, July 27, 2014

A New Purchase and Some Other Inspirations for This Card Design


I made this card for my aunt and when I finished,
I remembered that she used to do tole painting.
The influence shows in the design and colors.


I found this photo of a tole tray after making the card.


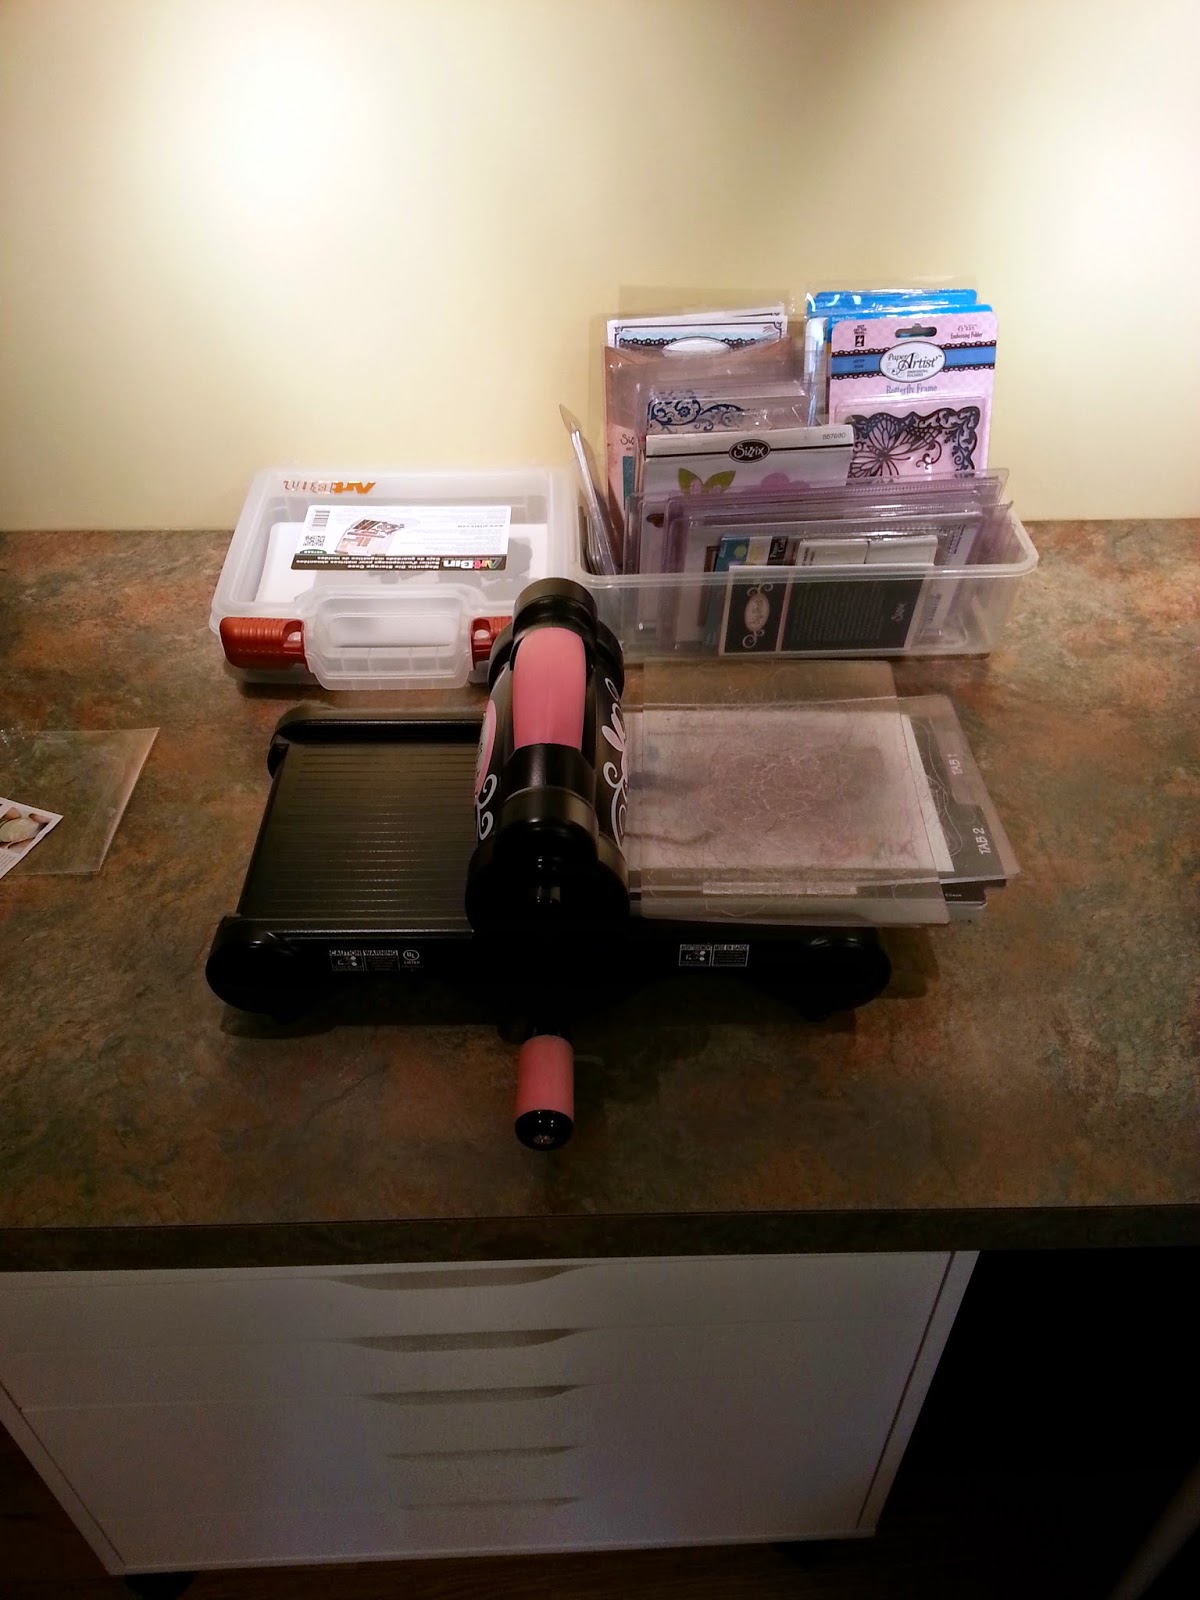
I had been watching some videos from Papertrey Ink and Splitcoaststampers
on negative die-cut sentiments.  We had also used negative floral and butterfly die-cuts
in our monthly paper making group's sessions this summer.

I started with yellow gingham paper and black card stock and the birthday sentiment die-cut.
Then I added some larger flower negative punches (a Stampin' Up item) and 
some leaf and vine positive die-cuts (Papertrey Ink, I think).
It still didn't look right and I remembered my new purchase:
A smaller Martha Steward floral punch with three coordinating stamps.
I negative punched those smaller flowers among the larger florals.
Then I found some scraps to positive punch with the smaller floral and scatter about.
I used the center stamp from the small floral punch pack to give the small flowers some detail.
A few yellow gold rhinestones complete the look.

It's amazing to me how things come about once creativity sets in!
But also how all your background experiences and knowledge play a part too.
And then you need to have a "stash" to be able to achieve your ideas.
A new craft room to store the "stash" and provide lighting and air-conditioning helps, too!


A New Design Inspired by a New Purchase


I made several versions of this design for birthdays and praise cards.  My grandsons each received one with an iTunes card for their accomplishments this summer.  Praise can only go so far to keep the summer sensational.  As teenagers, a cash card is always welcome with warm-hearted words.

It's an easy design but I couldn't have accomplished it without a new purchase--a star die cut.  That made me think about a supply list for this design and how much you need to keep in stock as well. So, here's the list of supplies needed with "in stock" items first:
  • Staples Ivory cover stock 67# for card base
  • K & Company Confetti Paper for background (tablet of paper purchased a couple years ago)
  • Sampler of Papertrey Ink cardstock colors (good variety and weight for die cuts with sharp points)
  • Scor-tape 1/8 inch for attaching background and stars to base
  • Scotch Permanent Adhesive dot roller for attaching stars (plenty of those with refills necessary)
  • Recollections foam adhesive circles for popping the star (I even use the margins around the circles).
  • X-acto corner rounder  (I use it all the time!)
  • happy birthday in cursive stamp for inside birthday cards (set of 3 phrases on wood blocks)
  • for you stamp (from unknown set of clear plastic stamps)
  • Rubber Stampede navy blue/Iris stamp pad (set of 12 cubes)
  • Queen & Co. adhesive Twinkle Stars (leftover from Christmas cards)
And last, but not least (it's the main attraction):
  • Lifestyle Crafts Nesting Star die cuts in 8 sizes
It takes a stash to create a simple card!
New purchases can be the inspiration.


Tuesday, July 22, 2014

My New Craft Room

Well, here it is! Ta-da!  My new room for crafting is ready to use.


Welcome!
through the French doors 
which I have always wanted to have in a room...


on the left side is a bench with no cushion--yet.
To the far left is the door to the attic.
The shelving is a closet system.


I even have an empty shelf!


There is a 9 foot counter top at the back of the room
where the ceiling slopes.  It is lit with track lighting.
There is movable storage underneath.


I can move the spotlights on the track to highlight the corner.
Here are some recent kits I put together for my card-making group.
This might become a photo box in the future?


Another 9 foot counter top is my work area
with more storage from Ikea: floating shelves, Alex white cabinet with drawers
and metal paper storage.


My work area looks out on the stairwell and 2-story entrance hall.
I get wonderful indirect sunlight at the end of the day.
But the portable Ott light and a 3 lamp light fixture above the window
as well as a ceiling fixture behind me
all add up to great light on my work area.


Today's project:  masculine birthday cards.


Come visit any time!


The craft room is right off my guest bedroom!


Sunday, July 13, 2014

Back to the Crafts

On May 1st, we started construction of a craft room for me in part of our attic off the guest bedroom.  I drew out on graph paper what I wanted and our great contractor made it look just like my drawing. It is complete except for two shelves that are missing.  I'll post photos of the work space soon, but for now--I'm using it!  Photos will appear when everything is stashed away.

One of the first times I used it was with my daughter and granddaughter.  Here is Sara's design for a bridal shower card inspired by her 80's gift wrap and the bride-to-be's color choices.


Colorful and bright--and definitely 80's inspired!
She should know. She lived it young!


Lily, 18 months old, made this card by choosing colors from a container of punched balloons.
Balloons are one of her favorite things right now!
Sorry about the focus. My phone was not well charged and couldn't hold a focus.
The colors are the important design element!


And I made a card for a friend who recently retired.
I was inspired by Sara's scraps.
We both wish my "Congratulations" stamp was a little bigger font!
I'll have to add that to my wish list.

But, all in all, it was a really fun way to initiate the new work space--three generations creating!